LEDEdit Pro 2026 Setup Guide: From Layout to T-1000S Playback
Step-by-step LEDEdit Pro 2026 setup: map your LED layout, build scenes on the timeline, preview every pixel and export .led for T-1000S and K-1000C.
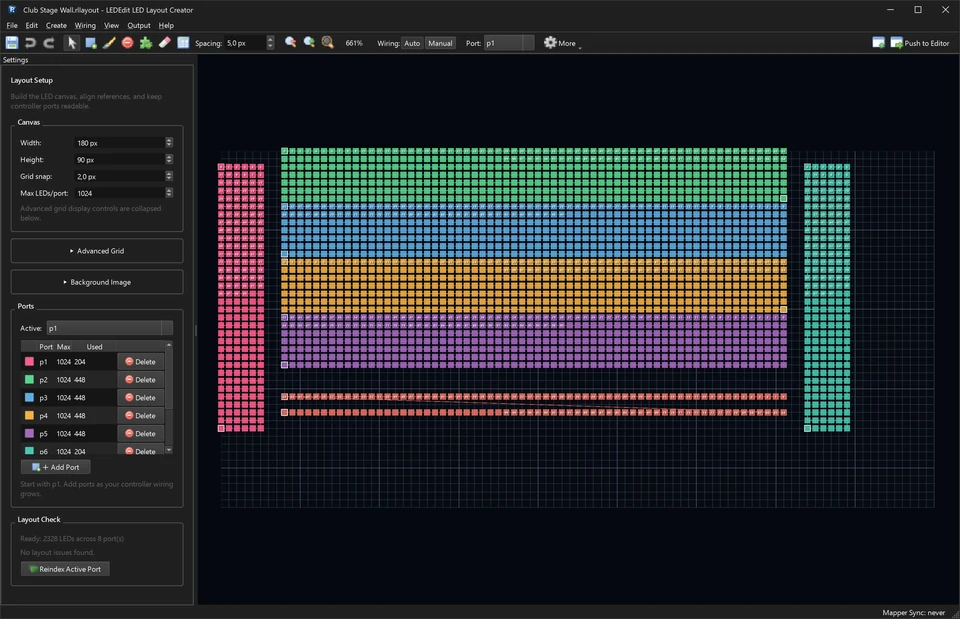
Table of Contents
Setting up LEDEdit Pro 2026 for a T-1000S takes five steps: map your layout, build scenes on the timeline, schedule playback, preview every pixel, and export the .led file to SD card. This guide walks through each step so your first show runs the same night you install the software.
New to the editor itself? Read our LEDEdit Pro 2026 overview first, then come back here for the hands-on workflow.
What you need
- Windows 10/11 PC with LEDEdit Pro 2026 installed
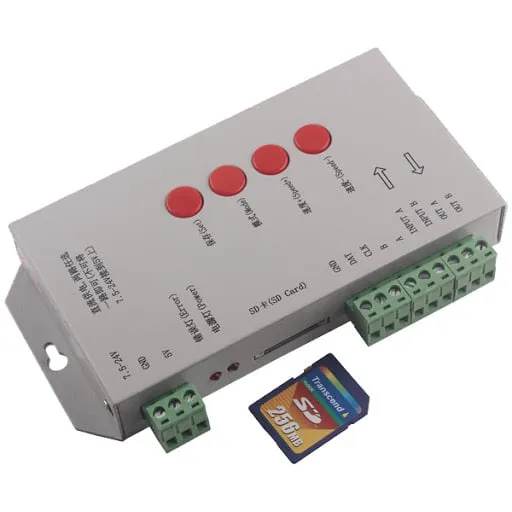
- T-1000S, K-1000C or another supported controller (check your model)
- FAT32-formatted SD card
- Your installation plan — ideally a DXF file, otherwise LED counts per zone
1. Map your layout
Open the layout mapper and import your DXF plan. Assign each fixture to its controller output and pixel range, then mask the canvas so the preview matches physical reality.
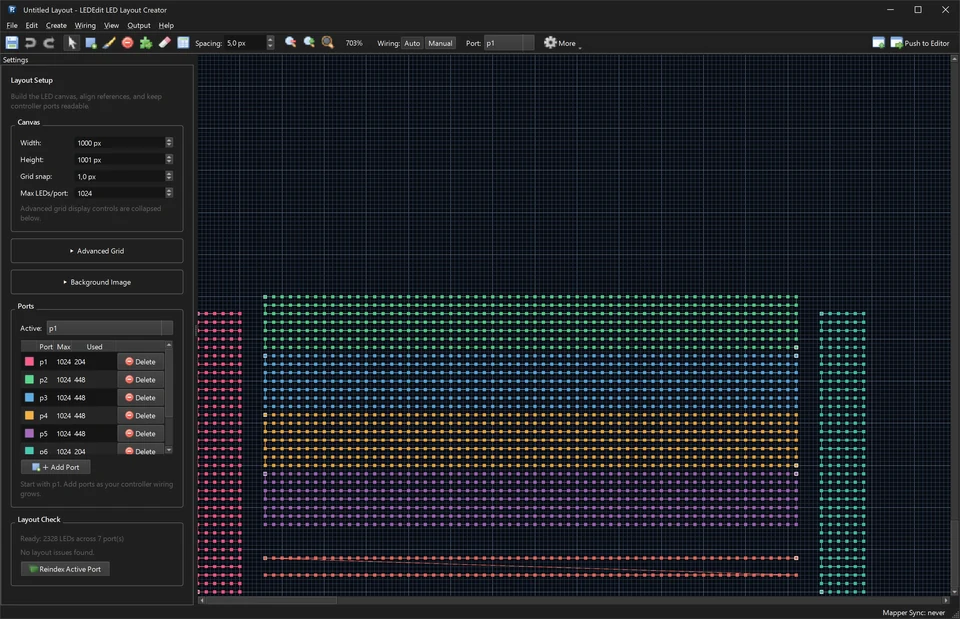
Pro Tip: No DXF file? Sketch zones manually with exact pixel counts. Accurate counts matter more than pretty drawings — every off-by-ten error shows up on the wall.
If your controller choice is still open, our T-1000S setup guide and K-1000C guide cover wiring and specs per model.
2. Build scenes on the timeline
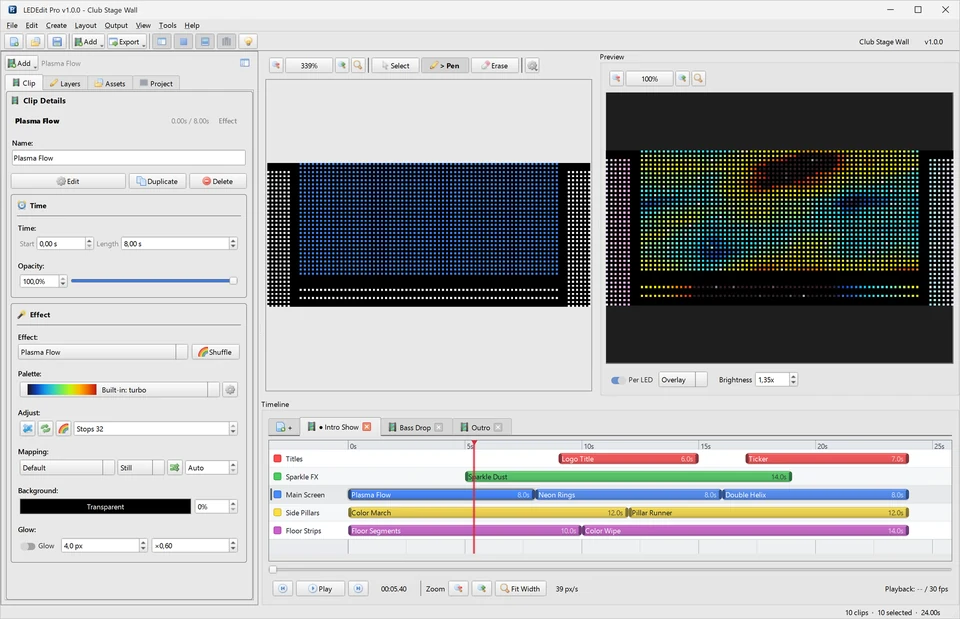
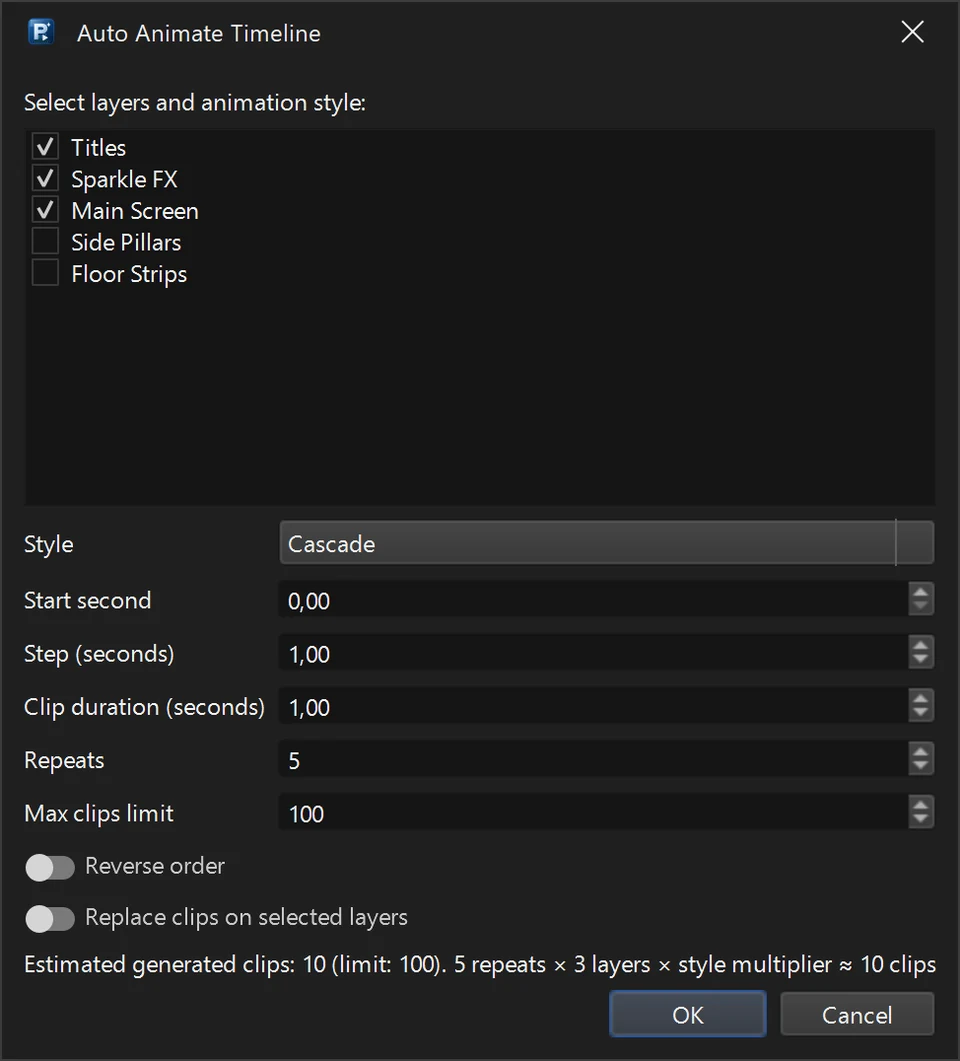
Create one scene per moment of your show and stack layers: background effect, logo or text overlay, strobe accents. Keyframe intensity so transitions feel intentional, and use auto-animate to generate fill content fast.
3. Schedule playback
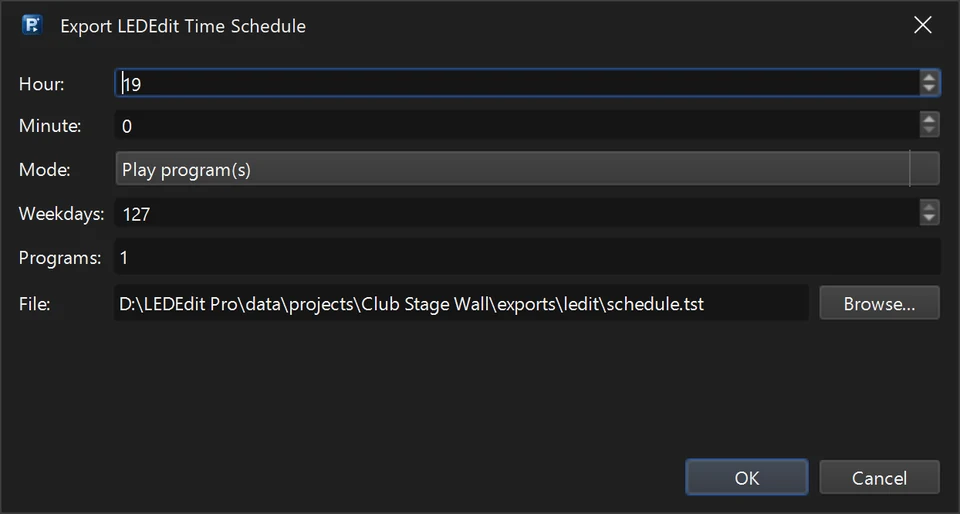
For permanent installations, the time scheduler triggers scenes by clock — opening animations in the morning, full brightness at night, calm loops after closing. Set it once and stop thinking about it.
4. Preview every pixel
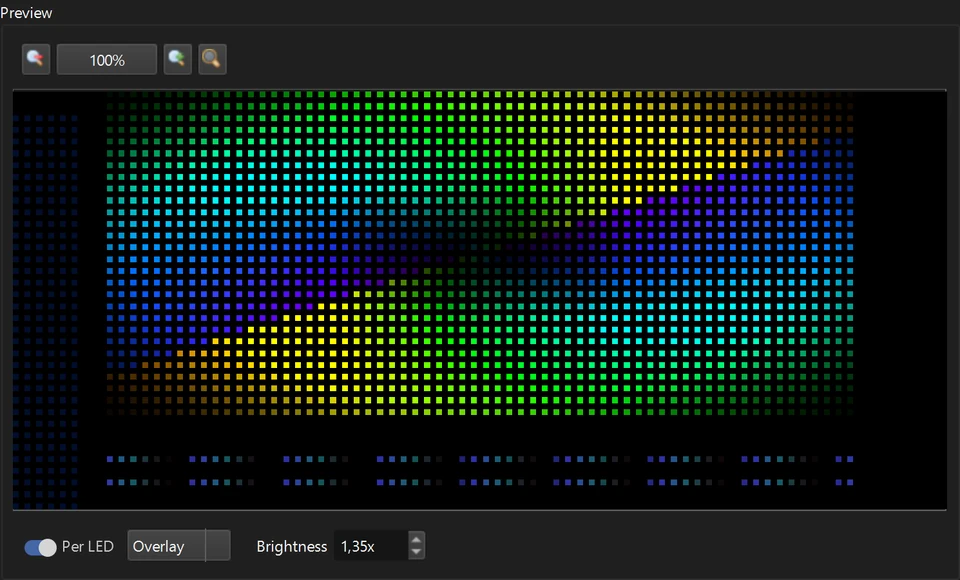
Before exporting, run the full show in live output. Check color order (RGB vs GRB bites everyone once), zone boundaries and text readability at real viewing distance.
5. Export .led and copy to SD
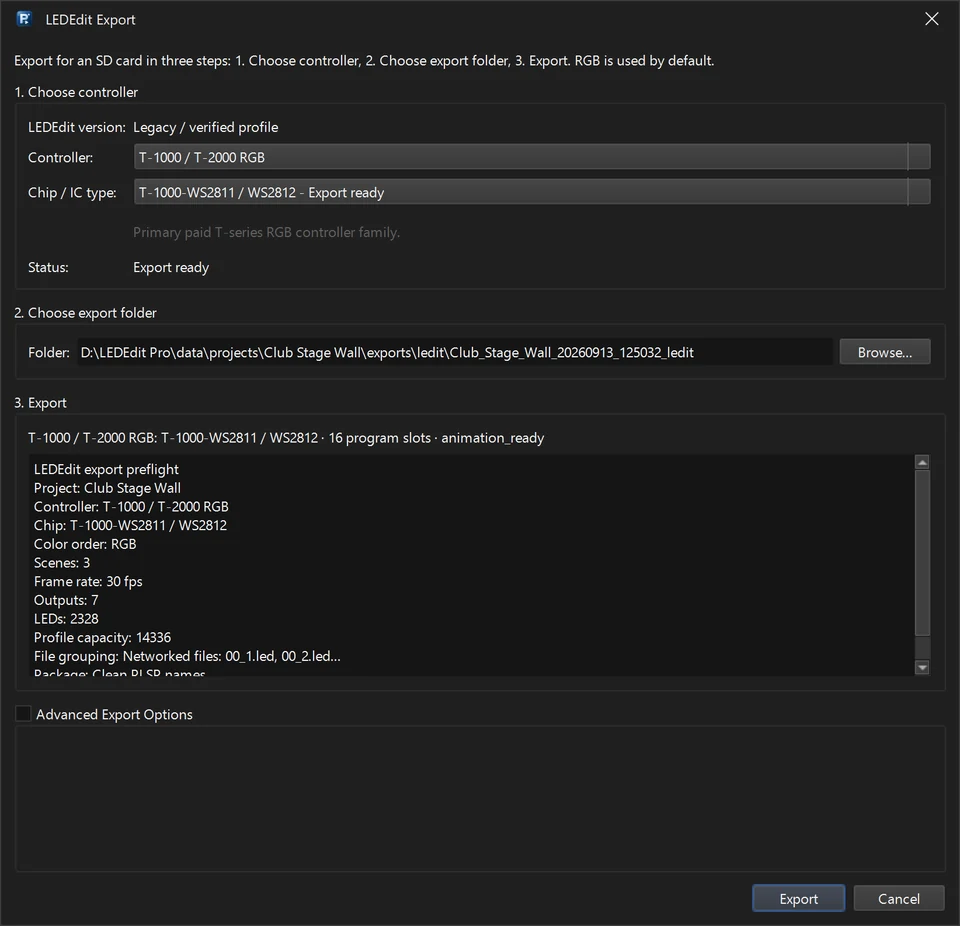
Choose your controller family in the export dialog, write the .led file, and copy it to the SD card root. Insert the card, power the controller, and your scenes play in order.
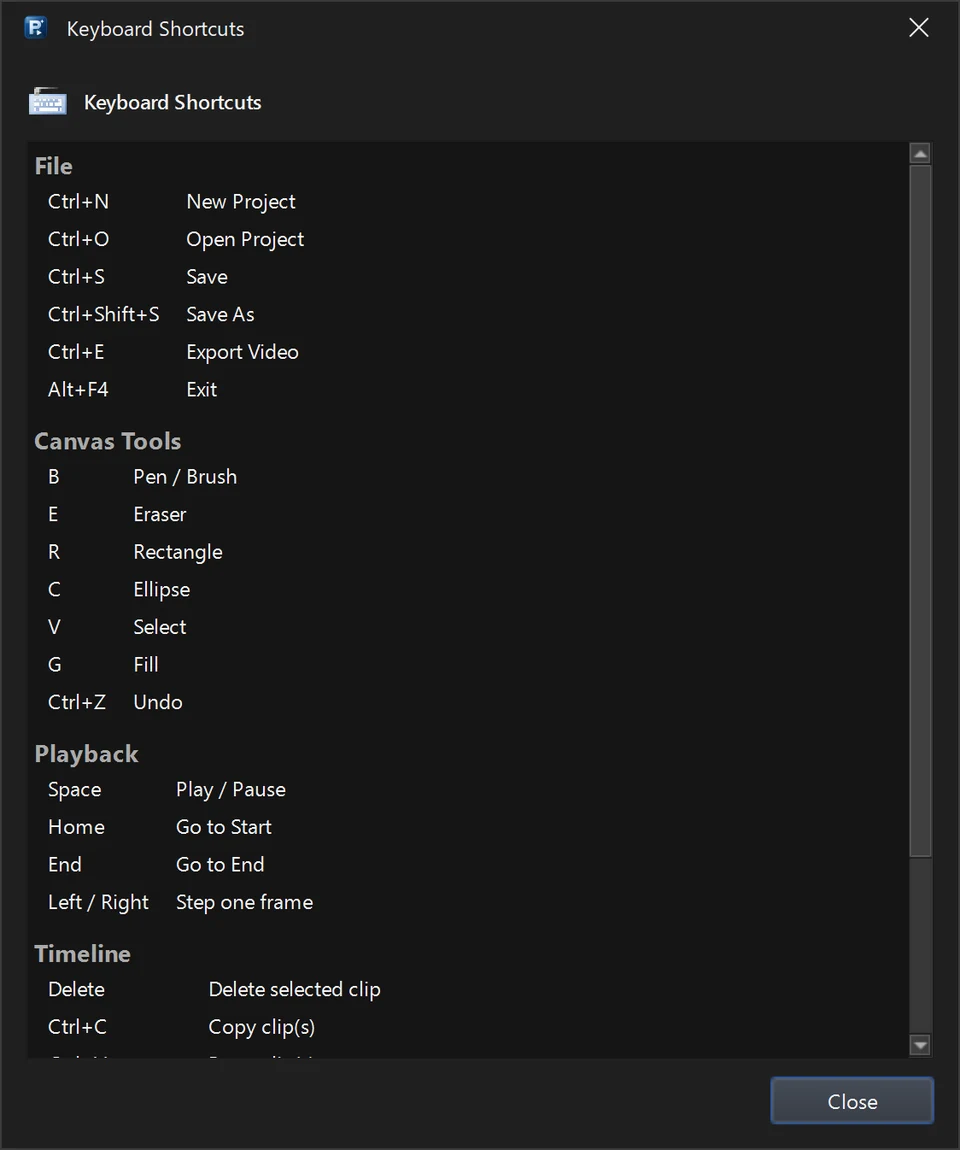
Keyboard shortcuts worth learning first
You will live on the timeline, so learn these early: play/pause preview, split clip, nudge selection frame by frame, and jump between scenes. The built-in shortcut map keeps the full list one keypress away.
Troubleshooting quick fixes
- Wrong colors: swap RGB order in output settings, then re-export.
- Shifted image: recheck pixel counts per output in the layout mapper.
- Controller ignores the file: confirm FAT32 formatting and the correct controller family at export.
- Flicker at high brightness: verify power injection — a software export cannot fix starving LEDs.
For deeper dives, browse our troubleshooting guides or the video tutorial library.
Next steps
Build tonight’s show faster: get LEDEdit Pro 2026, and fill empty scenes instantly with our 1,850+ LED effects pack.